 Then you need something to melt your candy in and something to stir it with. (More on the paintbrushes in a minute.) What you see pictured here are Ceramic Candy Melting Pots by Wilton. This is a new investment for me, but I’m really liking them so far. They hold the heat a lot longer.
 You need candy. I like these Wilton Candy Melts because I don’t have to add ANYTHING. I don’t need to add oil or shortening or anything. You can do this same process with chocolate chips, but you generally have to add a bit of shortening. I also really like how the candy melts set up.
 When I was making candy, I also used pretzel rods and some nuts. (No, not Dale. Almonds, I believe.)
 Put your candy in a bowl and microwave. With the candy melts, you start at a minute at 30% power. Stir. This is after the first minute.
 This is after 30 seconds at 30%, and another 30 seconds at 30%, stirring after each 30 seconds.
 And here they are almost all they way melted. (I only did 30 more seconds after this picture, but it was pretty blurry.)
 After it’s all melted, you could theoretically, add a flavoring. You do need to be careful and use only an oil based flavoring. One thing about melting chocolate: You don’t want to get any water near it. One drop will seize the whole bowl, and then you just have messy chocolate.
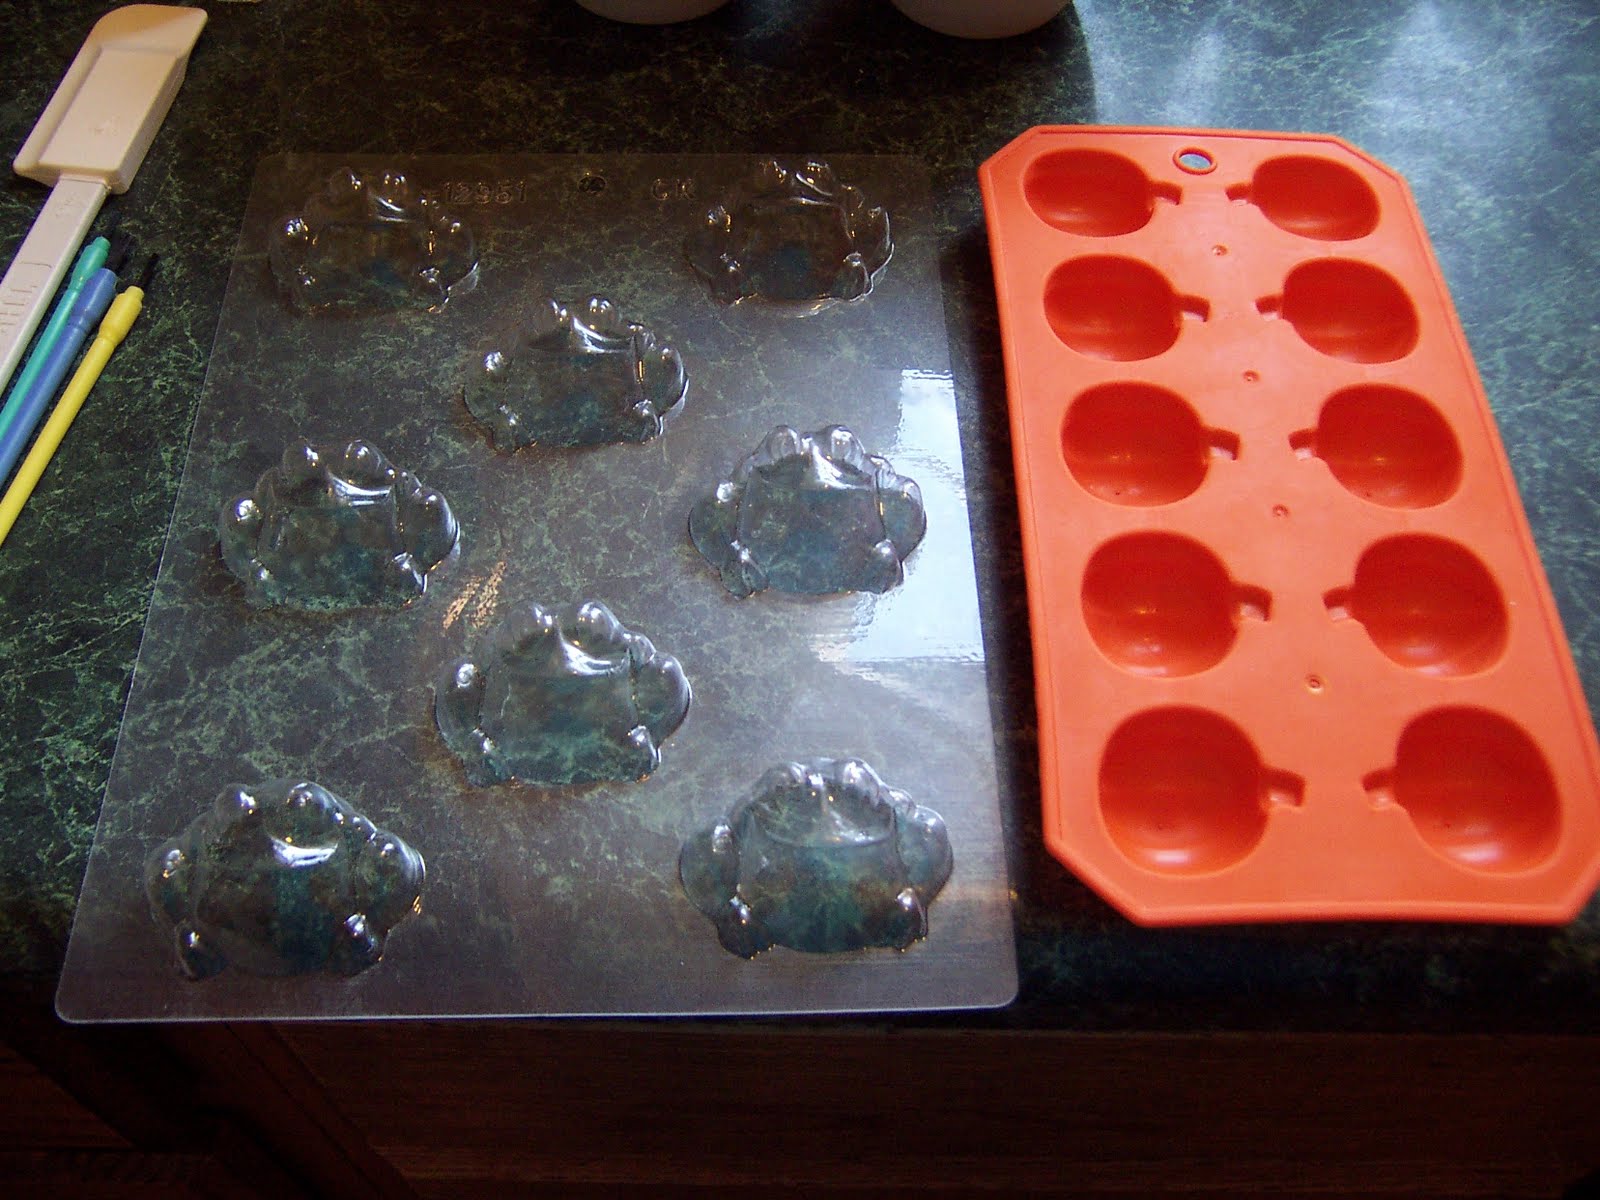
 Then you get to start filling your molds. I decided that since I was taking pictures, I was going to show you how to add a filling, first. You start by only filling your mold halfway.
 Then, you pick up the mold and drop it on the counter a couple of times to get the air bubbles out. See how it kind of levels off?
 Here’s where you need the paintbrush. Don’t use one of your kids’ watercolor brushes please. Although if it were brand new, you might could get away with it. These are usually sold with the cake decorating supplies, and we don’t use them for anything but candy making.
 Set it in the freezer for a few minutes to let it set (get hard). It doesn’t take long. 10 minutes max.
 Then you take it out, and put your filling in. In this case, it was an almond. But I’ve also made other fillings before. Peanut butter seems to be the easiest, but I also made a strawberry filling for this party.
 I also made pretzel wands. It’s the same idea. You melt the candy, and then you dip your pretzel rods in it and stir them around.
  When you pull it out, you shake off the extra.
 Then lay it down to dry. Parchment paper works well for this, or the Silpat baking mats are also good for this job.
 Well, that’s my tutorial. I’m sorry it’s so long, but I wanted to make sure you had lots and lots of pictures. I love making candy. It doesn’t take very long, and seems to mean so much to others.

How fun…you're chocolates turned out great…and I'm sure they were even yummier than they look! I'm glad my post got you started :-).
LikeLike
You did a great job explaining! I always use chocolate bars or chocolate chips with paraffin. So glad you're doing things like this with your girls…they'll always remember it!
LikeLike
Oooo, thanks for all the candy making secrets. I'll have to remember tap, paintbrush and then fill.
I love, LOVE my Silpat. I wont make cookies on anything but that.
LikeLike